History
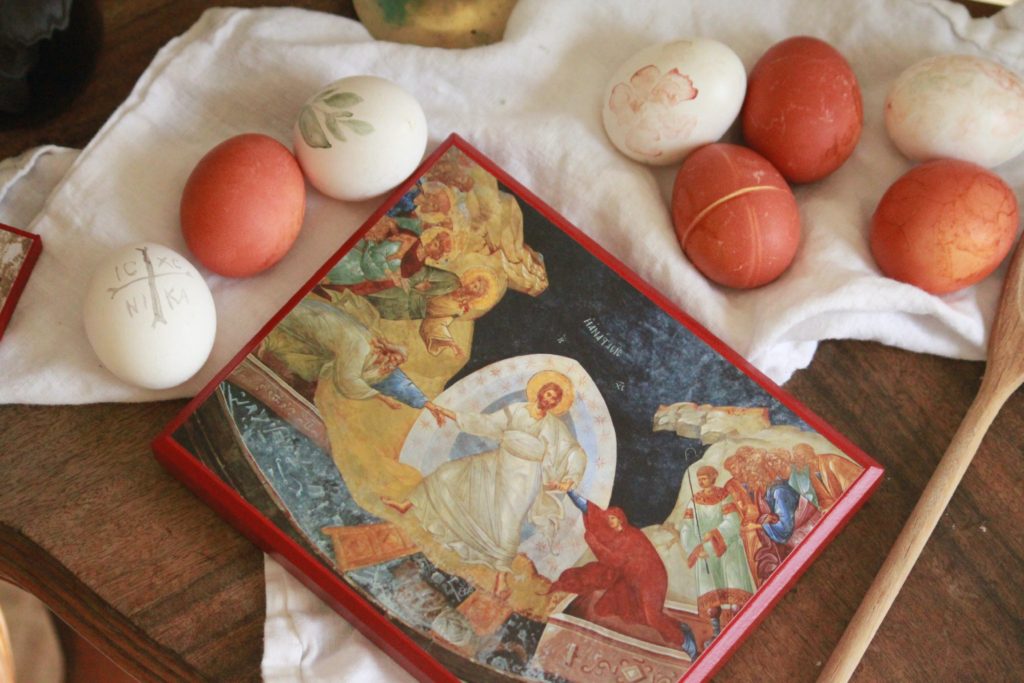
The egg has long been associated with Easter and the Resurrection; however, the origin of this tradition is unclear. Some legends suggest that the red Easter egg first appeared as soon as the first century while others have said that Christians adopted and sanctified Pagan traditions. At any rate, by the thirteenth century, the egg became a prominent part of the Easter feast for Christians who had observed the Lenten fast and were able to reincorporate eggs into their diet at the beginning of their Easter celebration.
Just as Jesus is the firstborn from the dead, the egg symbolizes newness of life. Similarly, the shell reflects the tomb from which new life emerges. When dyed red, the egg evokes the image of Christ’s precious, innocent blood shed for the salvation of the world. Other vibrant colors or even hand-panted designs play off of the richness of the spring season that is bursting with joy and light.
Tutorial
If you have been searching for a traditional way to dye your eggs naturally, then this is just the post for you.
Turning eggs red with just onion peels, water, and vinegar feels like a magic trick. We were skeptical the first time we tried it out, but the results were incredible!
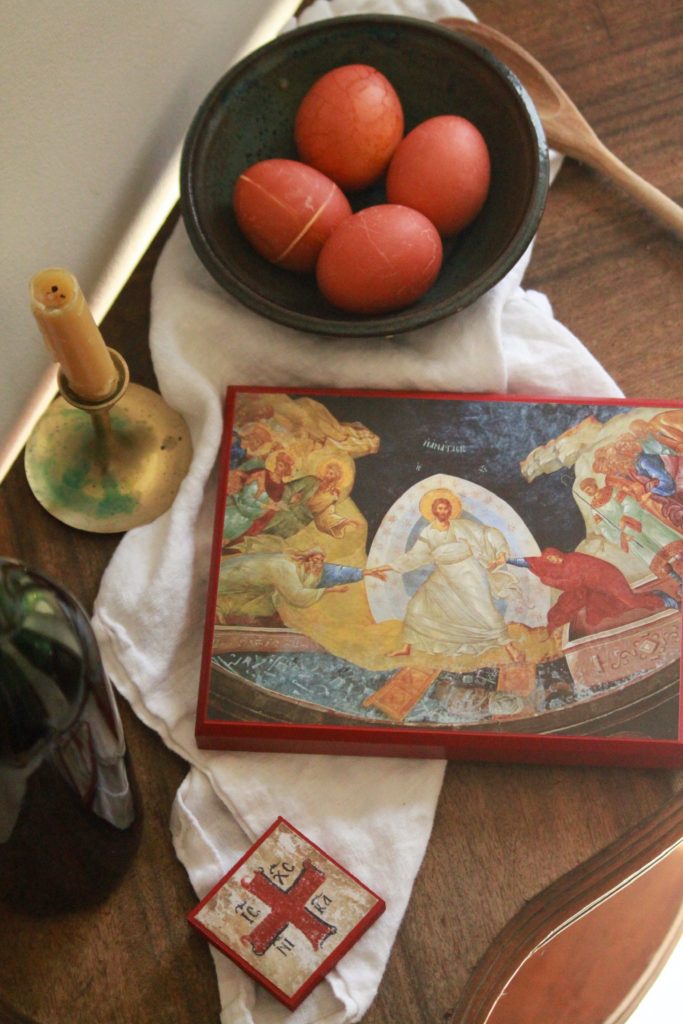
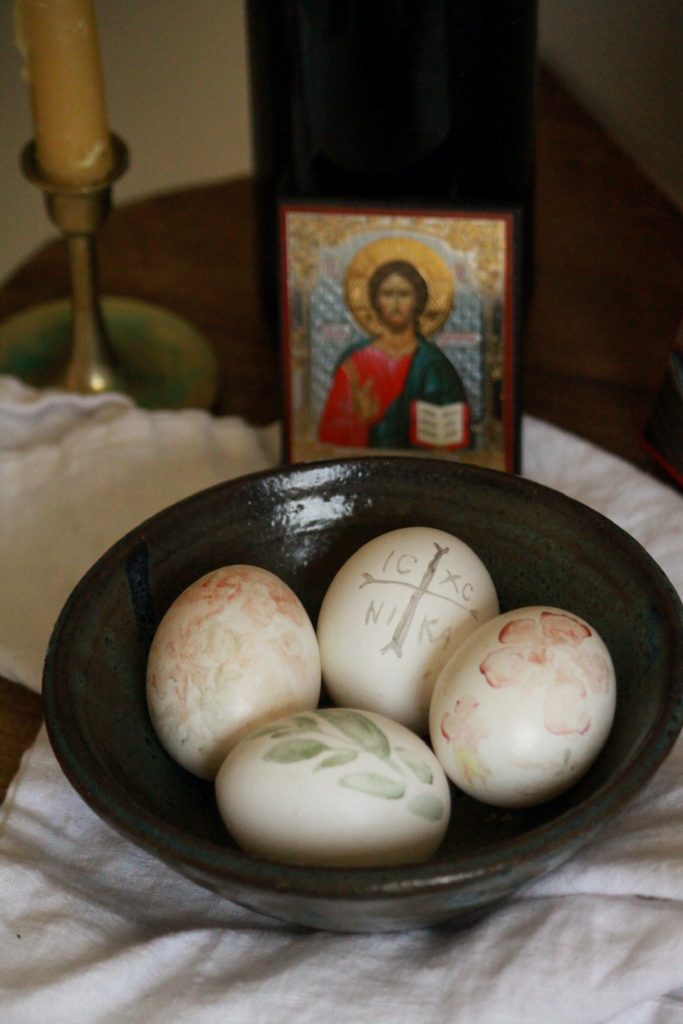
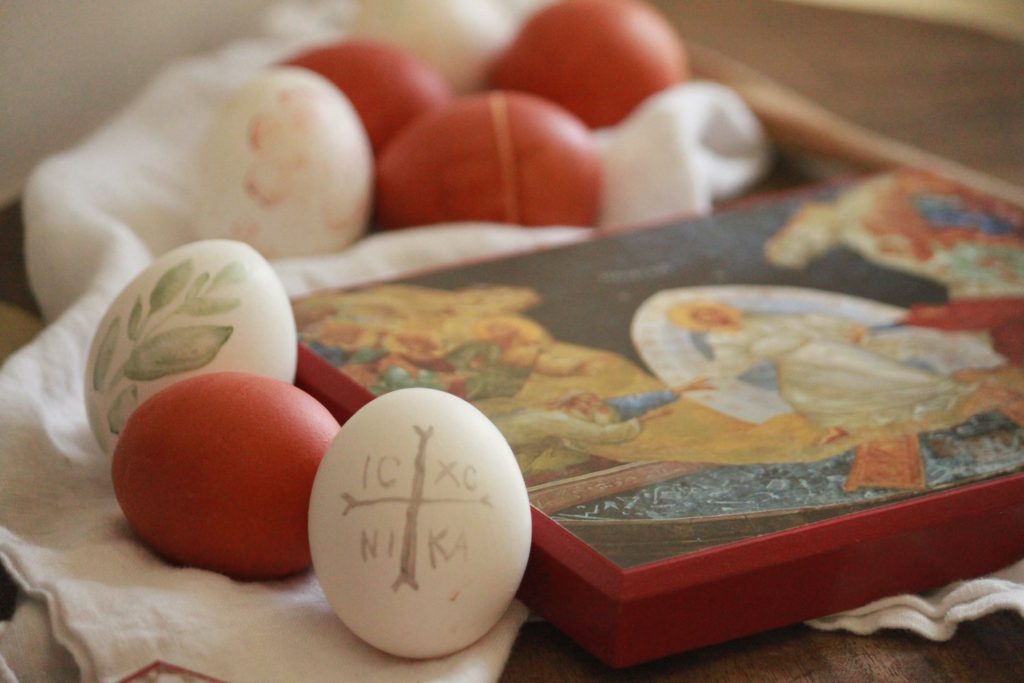
To add an extra touch of interest to your eggs, consider wrapping two rubber bands perpendicularly around the shell before boiling. After dying, a thin cross will remain uncolored. You could also wrap lace or another pattern around the egg in order to create a floral design. And of course, you could grab watercolors and a fine paint brush to paint on any design you choose.
We hope that your entire family will enjoy this activity just as much as we do. To start, you will need:
Ingredients
eggs
water
onion peels from 4-8 red or yellow onions
2 tbsp vinegar
Instructions
- Remove the skins from the onions and place them in a pot of water with 2 tbsp of vinegar. Bring to a boil.
- Gently drop the eggs in and check that they are fully submerged so that the dye evenly covers all sides of the eggs. Boil for 10 minutes and then reduce to a simmer.
- Simmer and stir occasionally until the eggs reach the desired color.
- Remove the eggs from the water and set them out to dry.
Notes
Here are a few tips about how to achieve the deep red color.
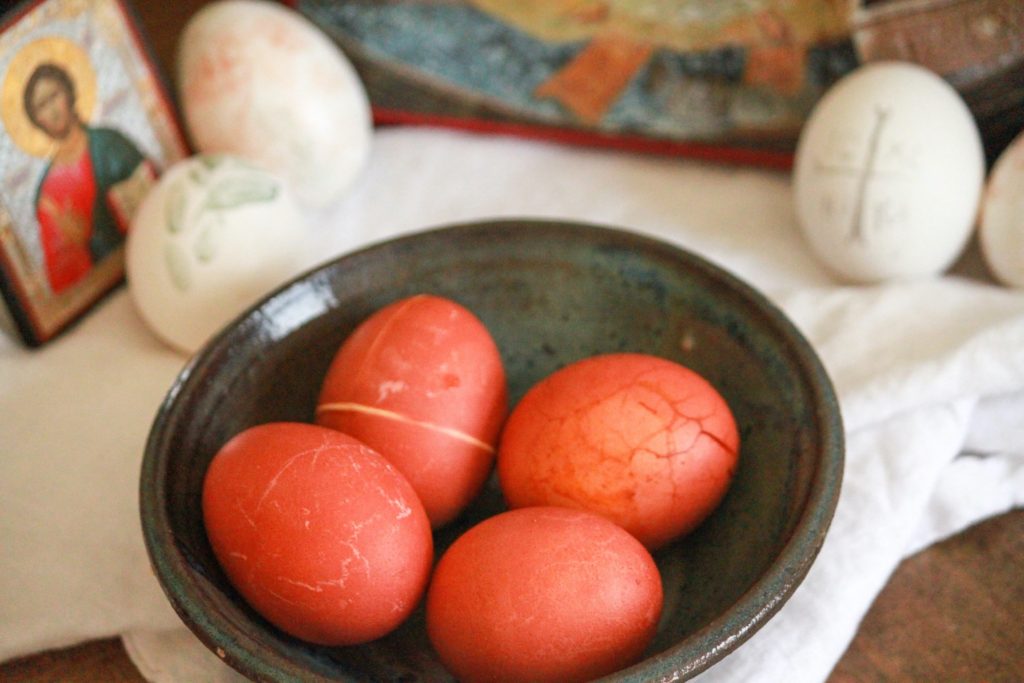
First off, the eggs: the resulting color depends on the original egg color. Brown eggs will yield a deeper, darker red while white eggs may turn a brighter orange color (pictured in this post).
The onion to water ratio: the eggs will dye quicker if you have a more concentrated onion skin water. So if you use the peels from ten onions and four cups of water, you won’t need to cook the eggs as long as if you used three onions and four cups of water. For the red eggs pictured here, I only used three onion peels submerged in a small pot in two cups of water. It took longer, but after about 60 minutes they became this vibrant red color.
Red Easter Eggs
Materials
- eggs result will vary based on egg shell color
- water
- skins from 4-8 onions white or red onions
- 2 tbsp vinegar
Instructions
- Remove the skins from the onions and place them in a pot of water with 2 tbsp of vinegar. Bring to a boil.
- Gently drop the eggs in and check that they are fully submerged so that the dye evenly covers all sides of the eggs. Boil for 10 minutes and then reduce to a simmer.
- Simmer and stir occasionally until the eggs reach the desired color.
- Remove the eggs from the water and set out to dry.


I’ve heard great things about using purple cabbage to get beautiful blues! Can’t wait to try them both!! Blessed Resurrection, everyone!
Yes I’ve been seeing the purple cabbage idea, too! We’ll have to try that as well. Blessed Easter, Katie!